
The Odoo Point of Sale app allows you to manage your entire restaurant. From taking orders and sending them to the kitchen to managing multiple dining areas, payments, and reservations.
Odoo has its own booking app for managing reservations; however, synchronization with Google Bookings is the system’s latest feature and is now available from Odoo Enterprise 18 onwards!
Reservations with Appointments
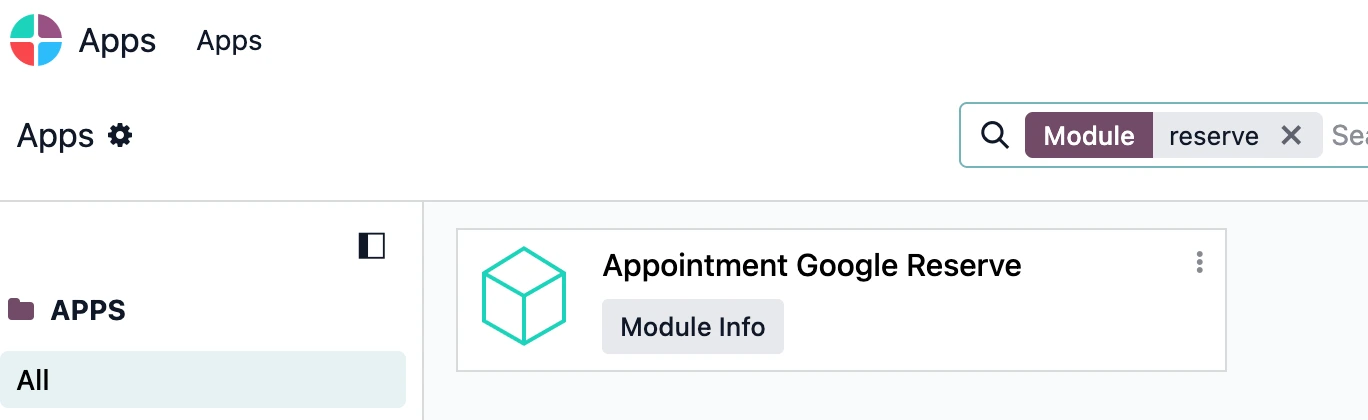
Tax To synchronize with Google, first go to Applications, search for the “Google Appointment Reserve” module, and then create the available reservations in Odoo, which involves setting up available tables and restaurant hours.
First, if you’re starting from scratch with Odoo, download the POS app and access the configuration. Once downloaded, go to the app’s General Settings and create your restaurant.
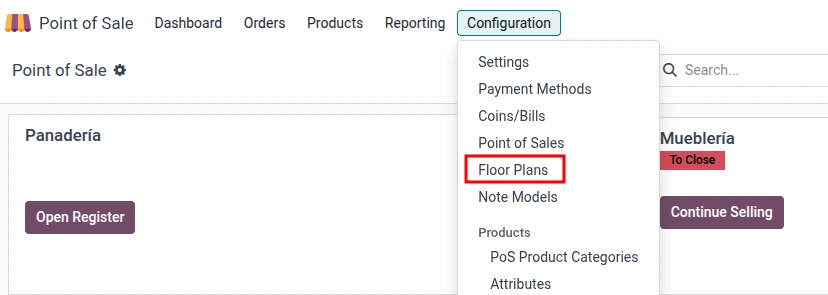
After saving these settings, when you open the Point of Sale app, you’ll have two ways to set the restaurant’s floor plan. One option is to log in to the restaurant, once you have logged in, you’ll need to enter the opening cash balance; once that’s done, you can access the restaurant floor plan. Another option is to tap “Configurations” and open the restaurant floor plan.
The first step is to edit the floor plan, adding both tables and dining rooms, if you have more than one. For each table, you can set a maximum number of guests that can be seated at that table; this is necessary for managing reservations later on.
All done! Your restaurant floor plan is now set up with all tables available for booking. Now it’s time to go back to the Point of Sale app settings and enable the Reservations option.
This directly activates synchronization with the Appointments app and the website through which customers can book their table.
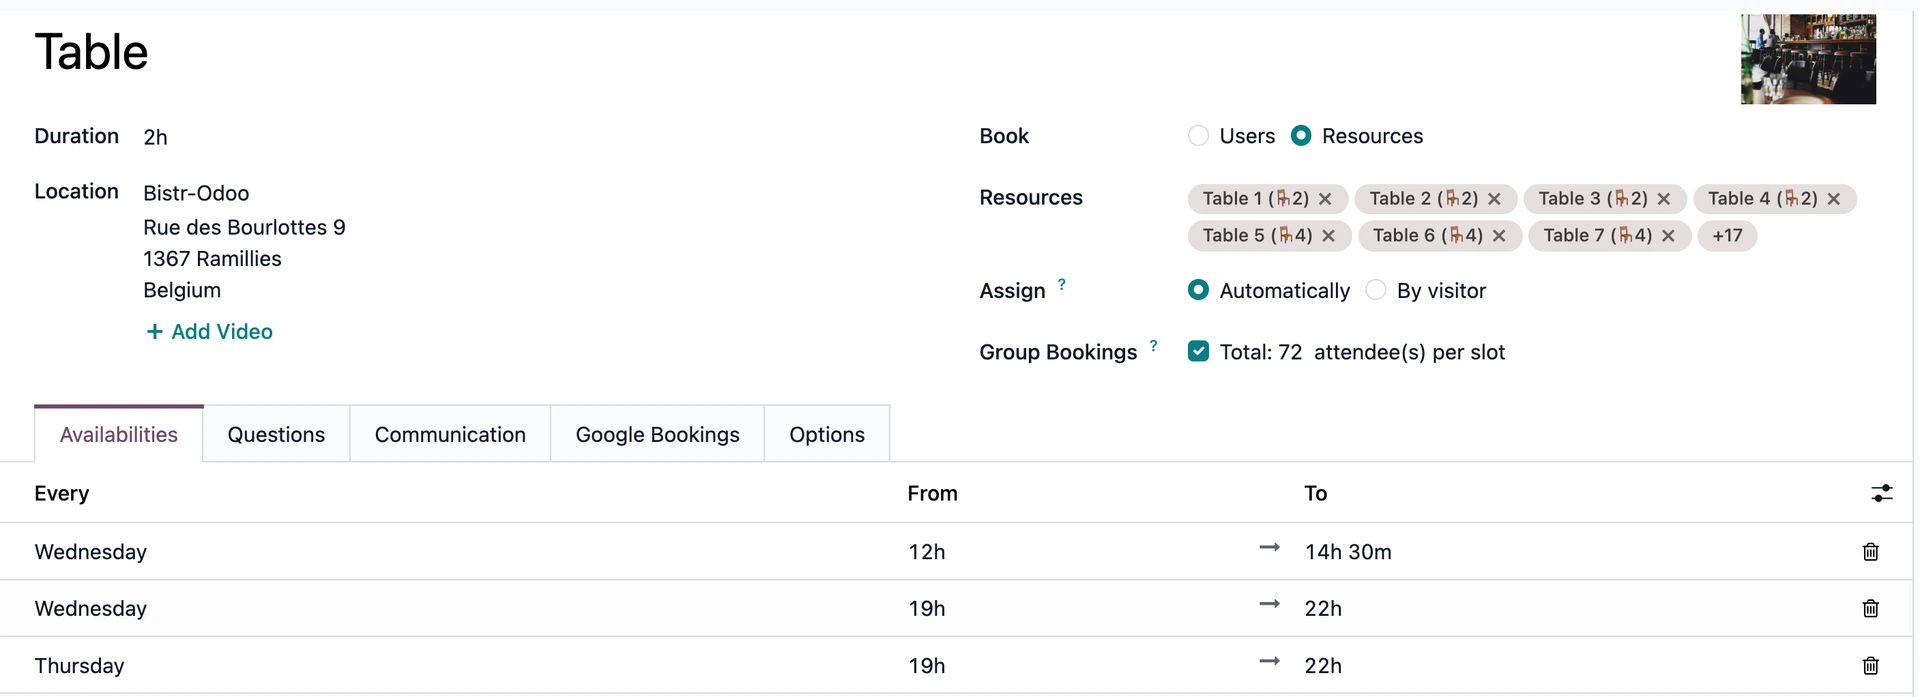
In the appointments settings, it’s time to set up our schedules and available tables.
First, create a new appointment type for reservations. We assign it to our restaurant and set the desired duration of the appointment. You’ll need to check the “Reserve Resources” option so we can select the tables available for booking.
In the list of resources, we include all available tables. We select the “Automatic Assignment” option so that when a customer makes a reservation, they’re assigned the first available table. Finally, we add the maximum seating capacity of the restaurant.
Next, we set up table availability by time slot. We create rows for the available days and times; for example, if we’re closed on Mondays, that day won’t be included, and no availability for reservations will show up.
With all days set up, we can move on to the questions and communications we want to include at the time of booking. In these sections, you can request a phone number or email address to contact the customer, and you can also include a section where they can notify you of allergies and/or food intolerances. Finally, you can set up automated messages, such as an email confirming the reservation.
Synchronization with Google Bookings
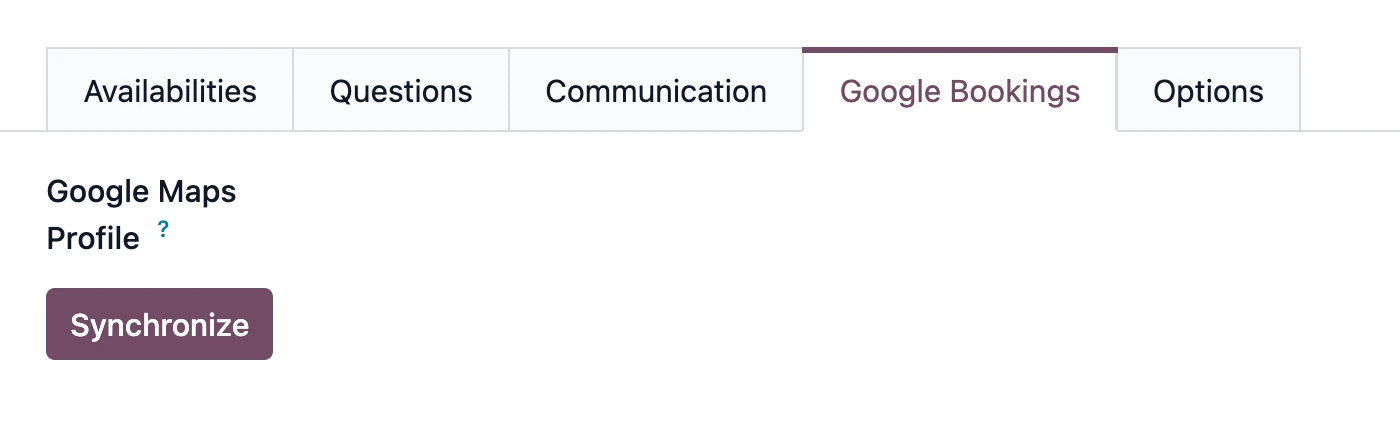
Once all available booking slots have been configured following the steps above, Odoo is ready to synchronize with Google.
In the Google Bookings tab, a button will appear that allows you to synchronize your database and all tables available for booking with the restaurant’s Google account.
Once synchronization is complete, when you search for the restaurant on Google or Google Maps, the “Make a Reservation” button will appear right away. Based on the scheduled hours, the created dining areas, and the available tables, customers can make their reservations, which will be synchronized directly with the reservations in the database.
That’s it! You can now manage all your restaurant’s reservations both through your Odoo website and Google Bookings.
